
The complete guide
Adjustable Deck Pedestals, A Practical Buyer's Guide For Low Decks
The problem with low decks
Building a low deck looks simple until you lay the first joist and realise the ground underneath is a landscape of humps and hollows. Nothing in a backyard is flat. The dirt near the house has usually been built up, the far corner has settled, and somewhere in the middle there is a tree root doing its own thing.
The traditional answers are slow or temporary. Pouring concrete piers means digging holes, mixing, waiting for it to cure, and then discovering your string line was 10mm out. Packing the frame with offcuts, bricks and bits of paver is quick, but those packers slip, rot, crush or sink. A deck built on packers feels fine in week one and squeaks like a floorboard in a haunted house by the following winter.
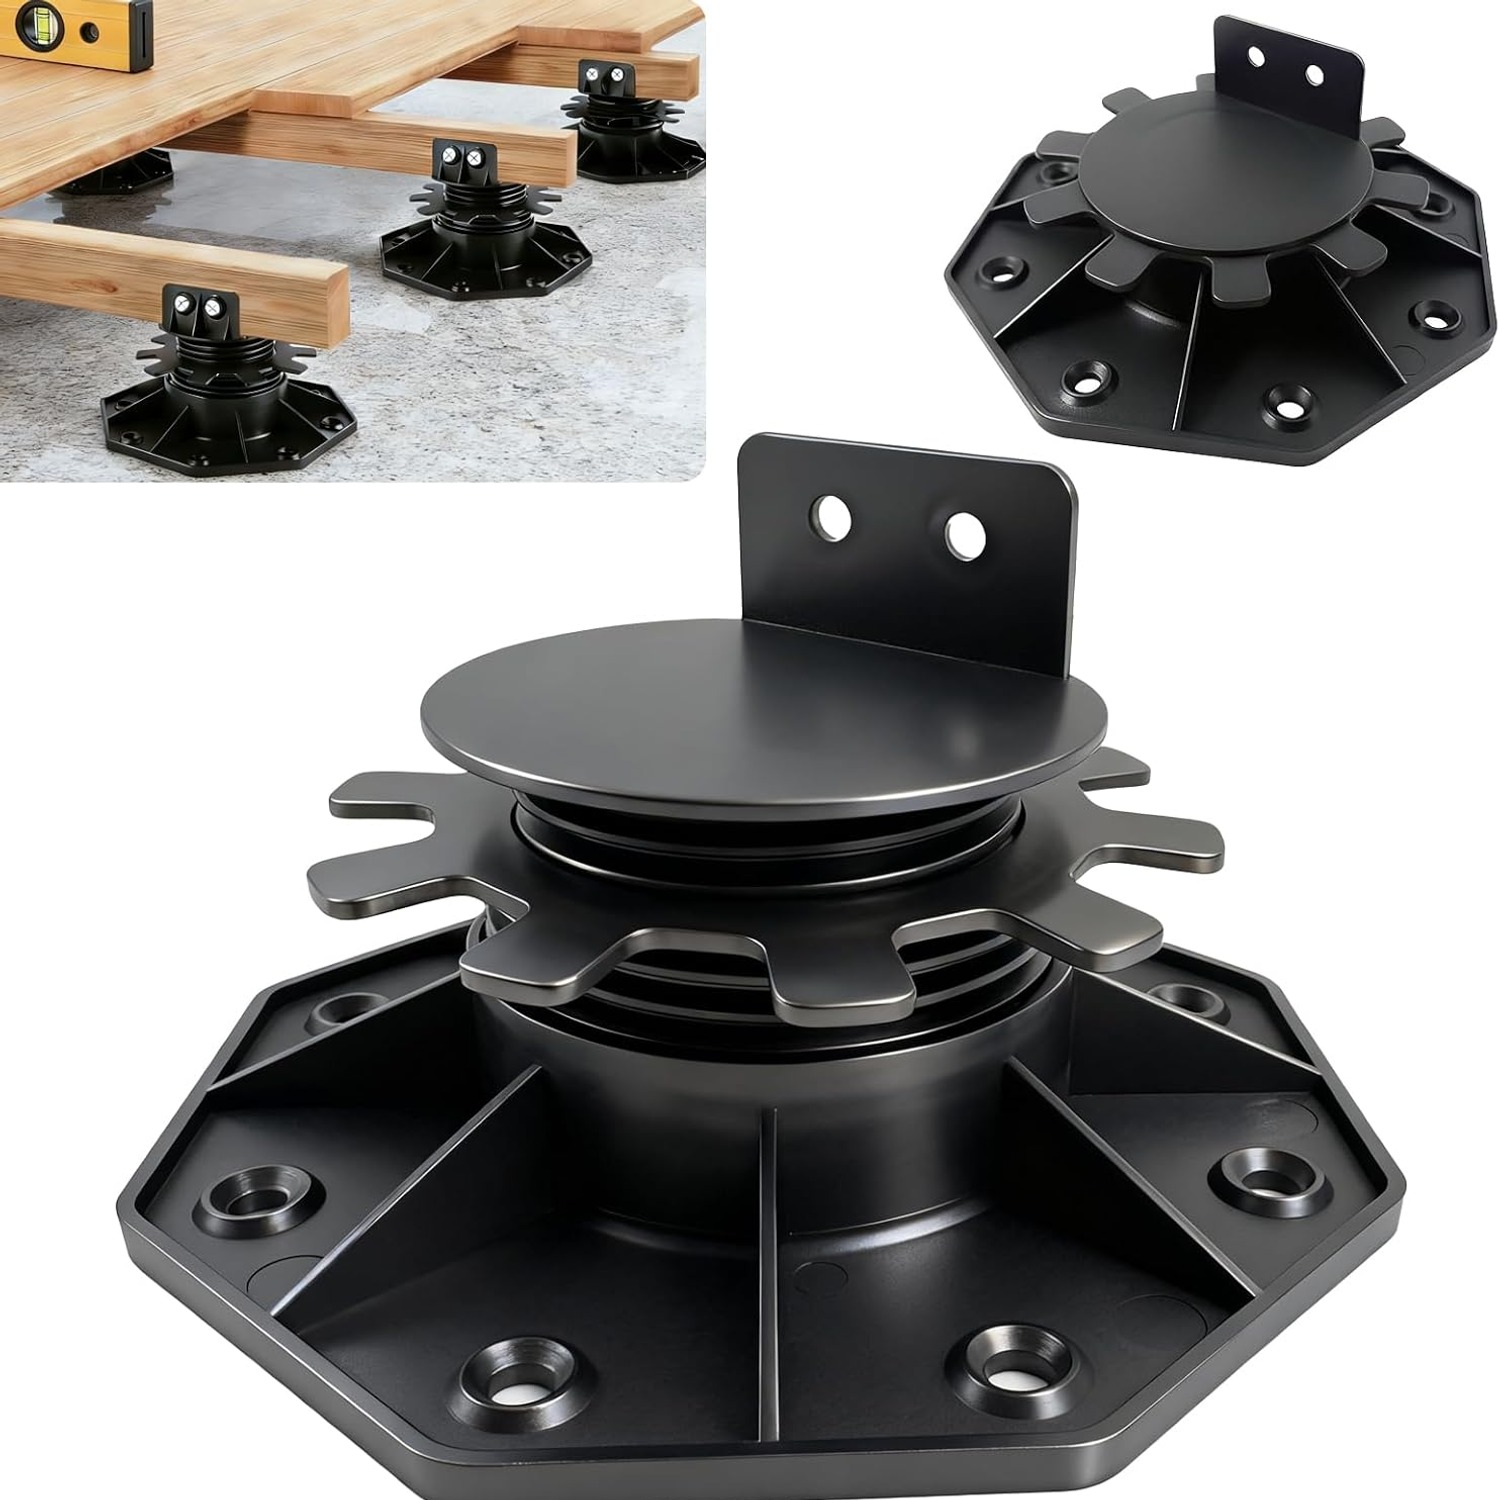
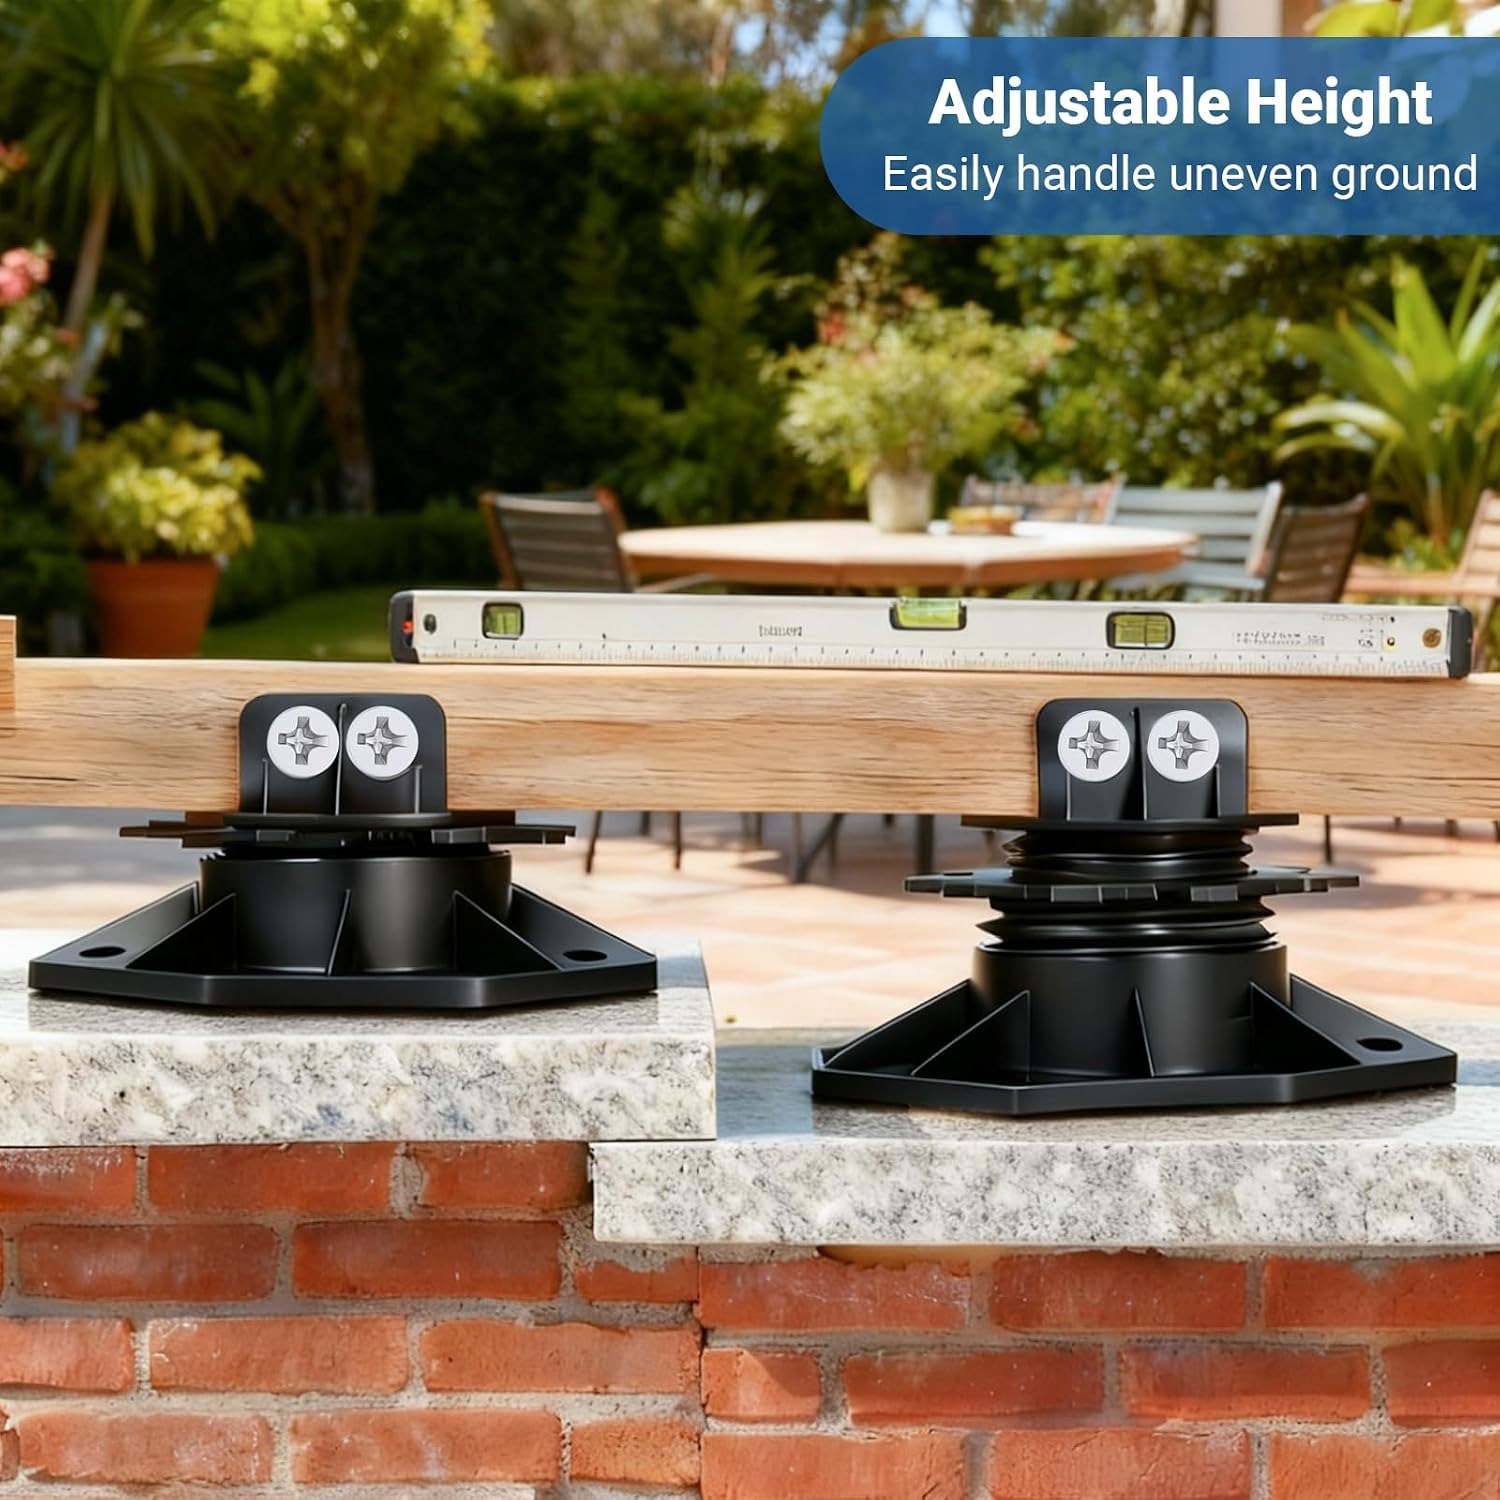
Adjustable deck pedestals sit between those two options. Each one is a small screw jack. You place it, wind it to the height you want, screw the frame to the top plate, and move on. The whole job of getting a deck level becomes a twist rather than a dig.
How these pedestals work
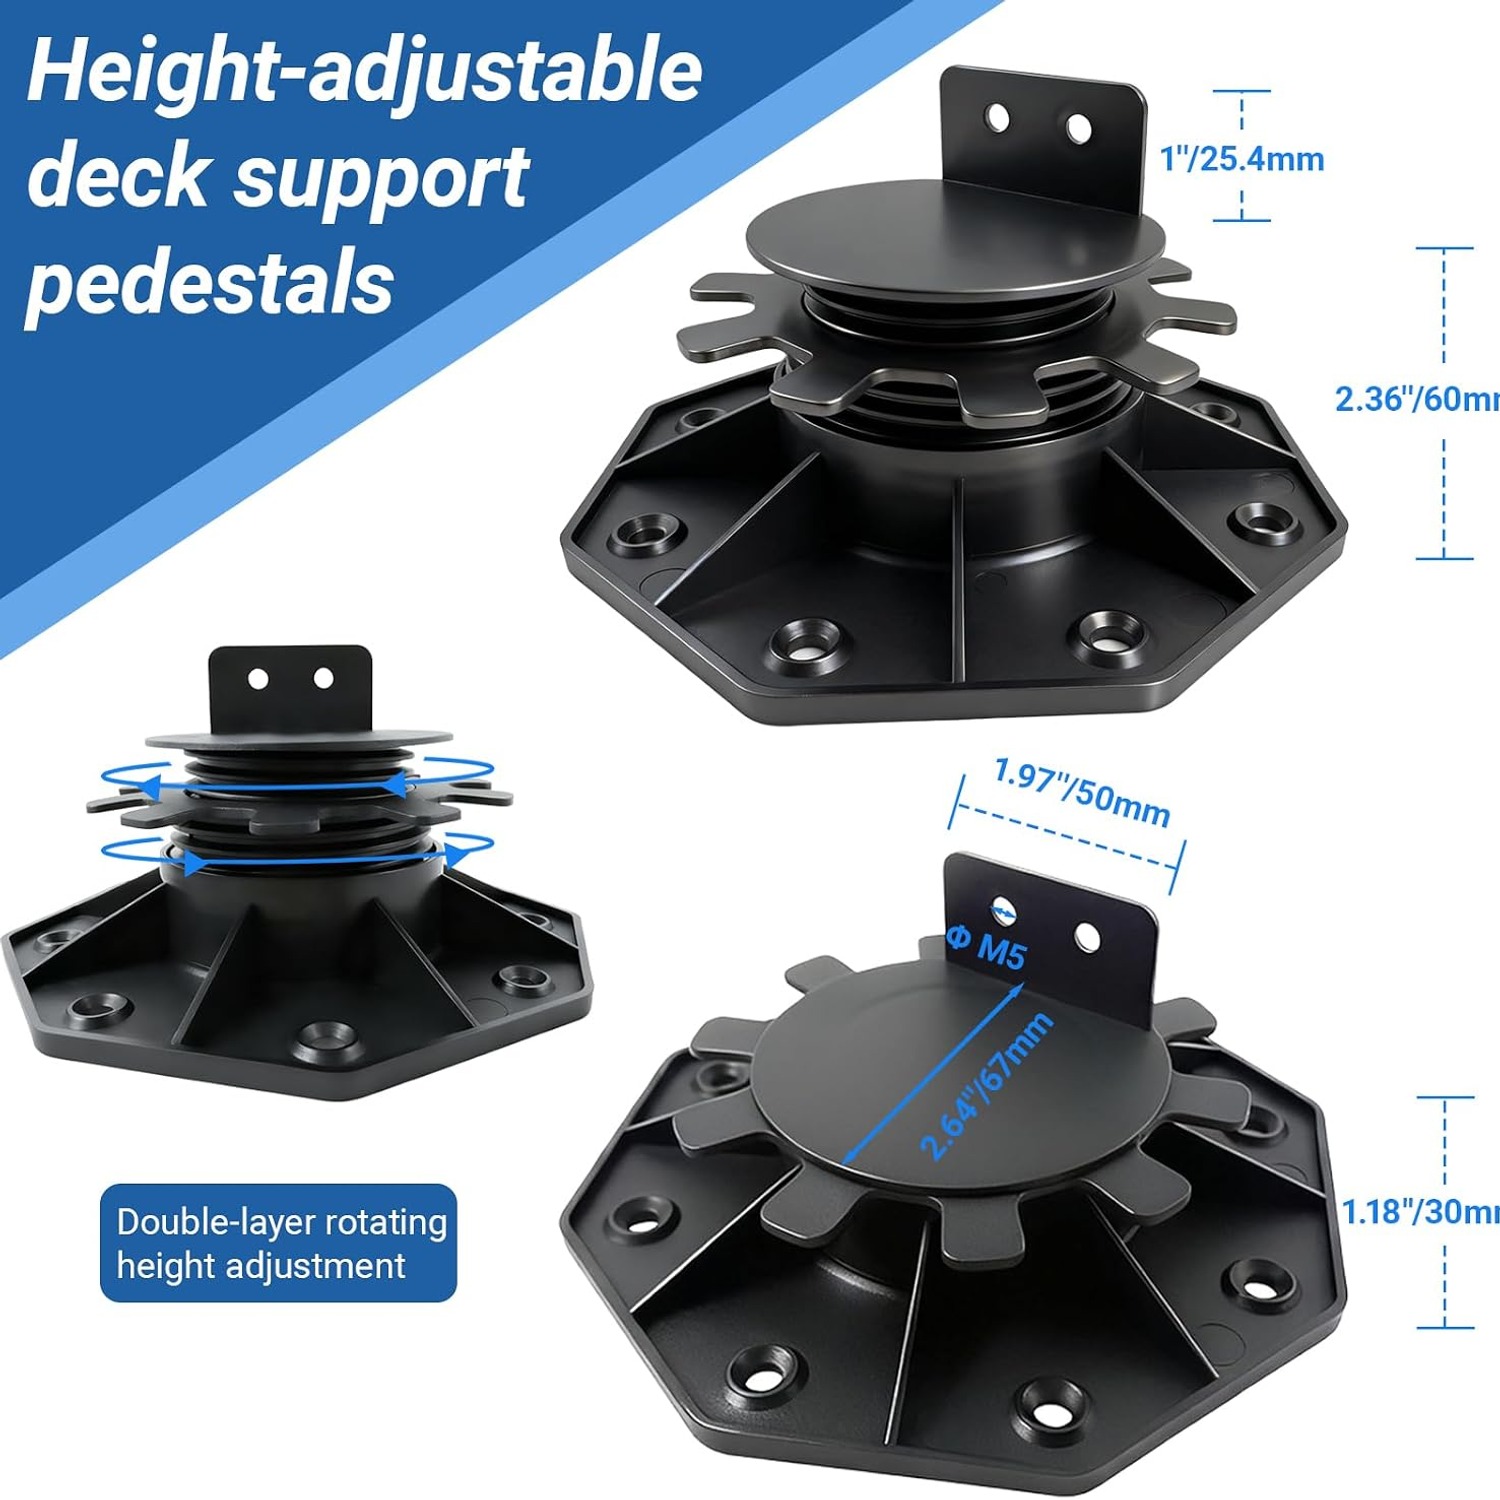
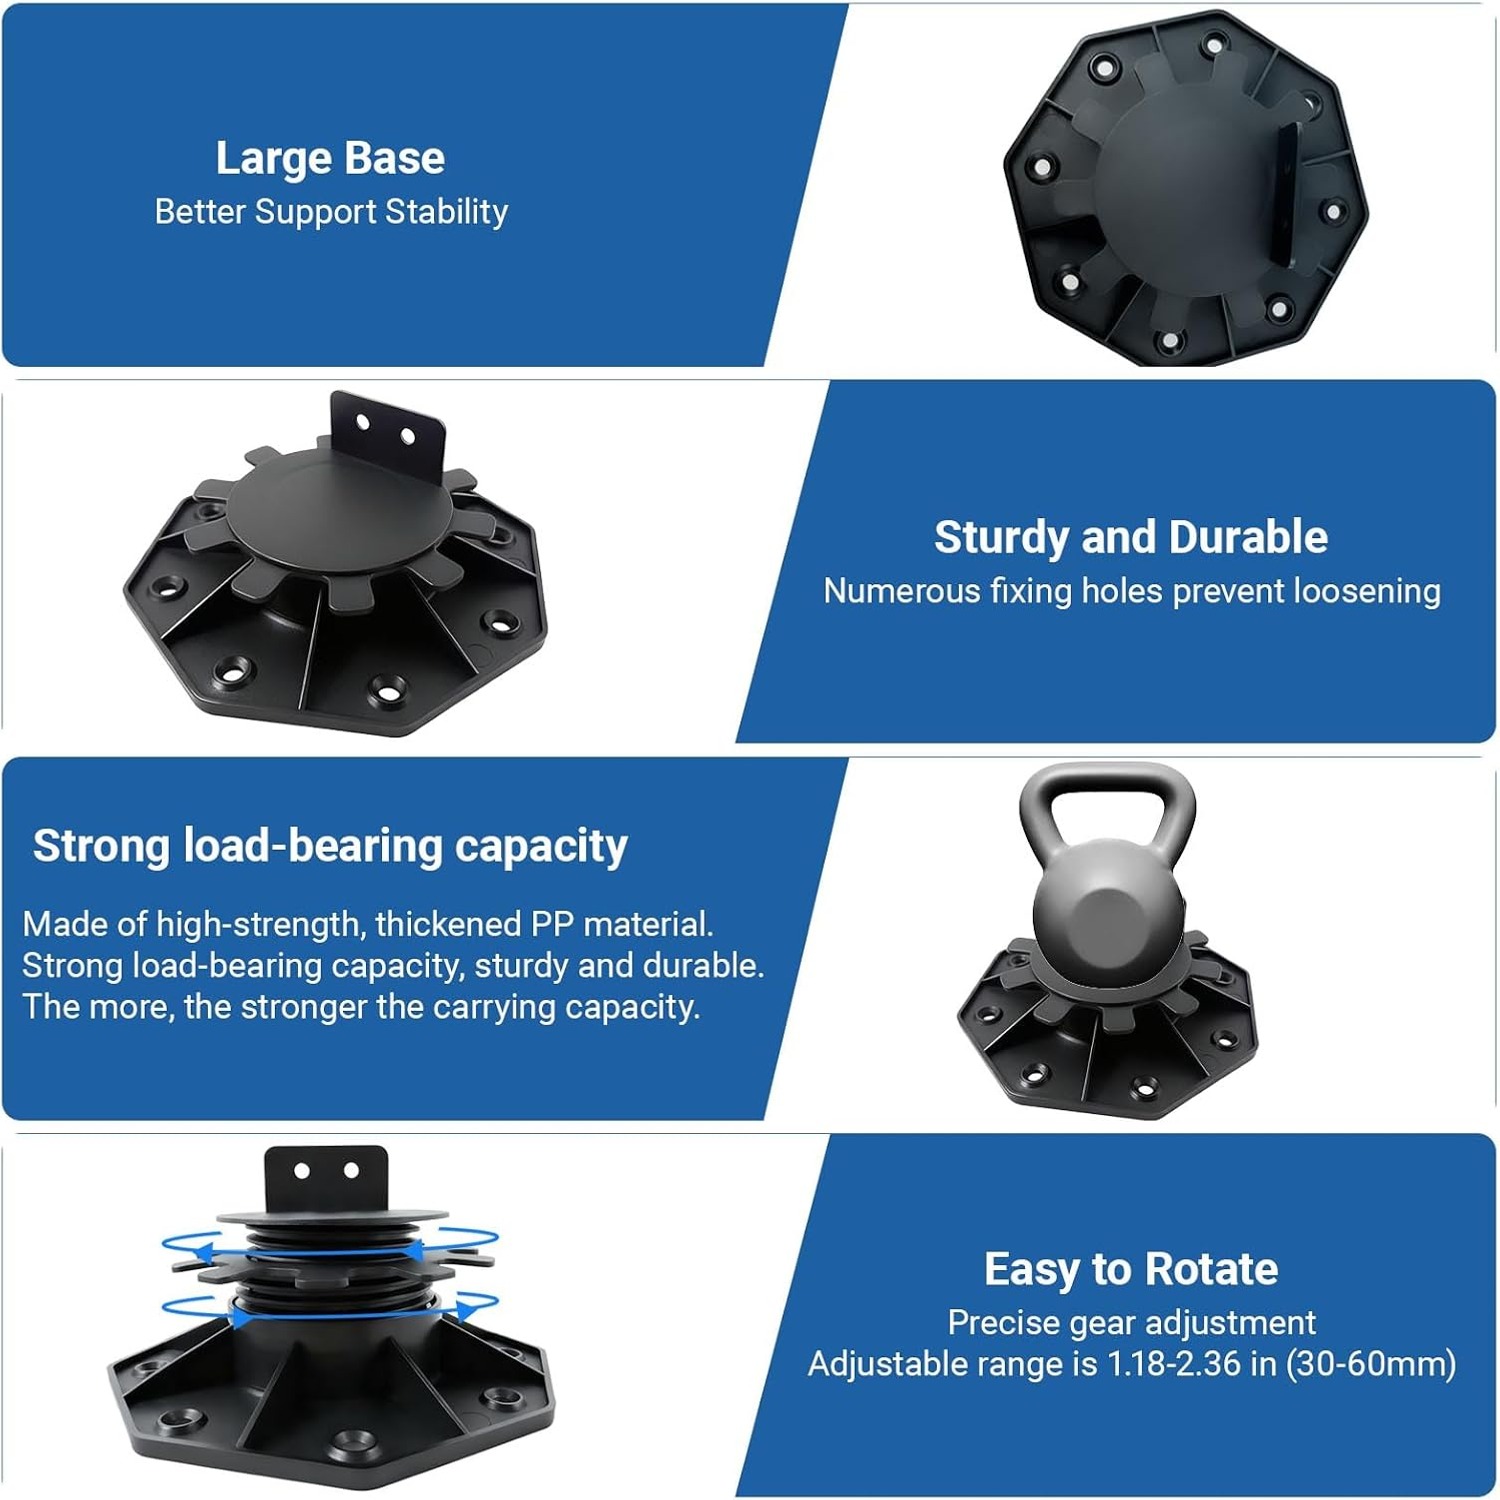
Each pedestal in this pack is a two-part molded unit that winds between 30mm and 60mm. The base is rounded underneath, which spreads the load into whatever it is sitting on and helps the pedestal stay steady instead of rocking on a point. The top is a flat plate with small holes drilled through it.
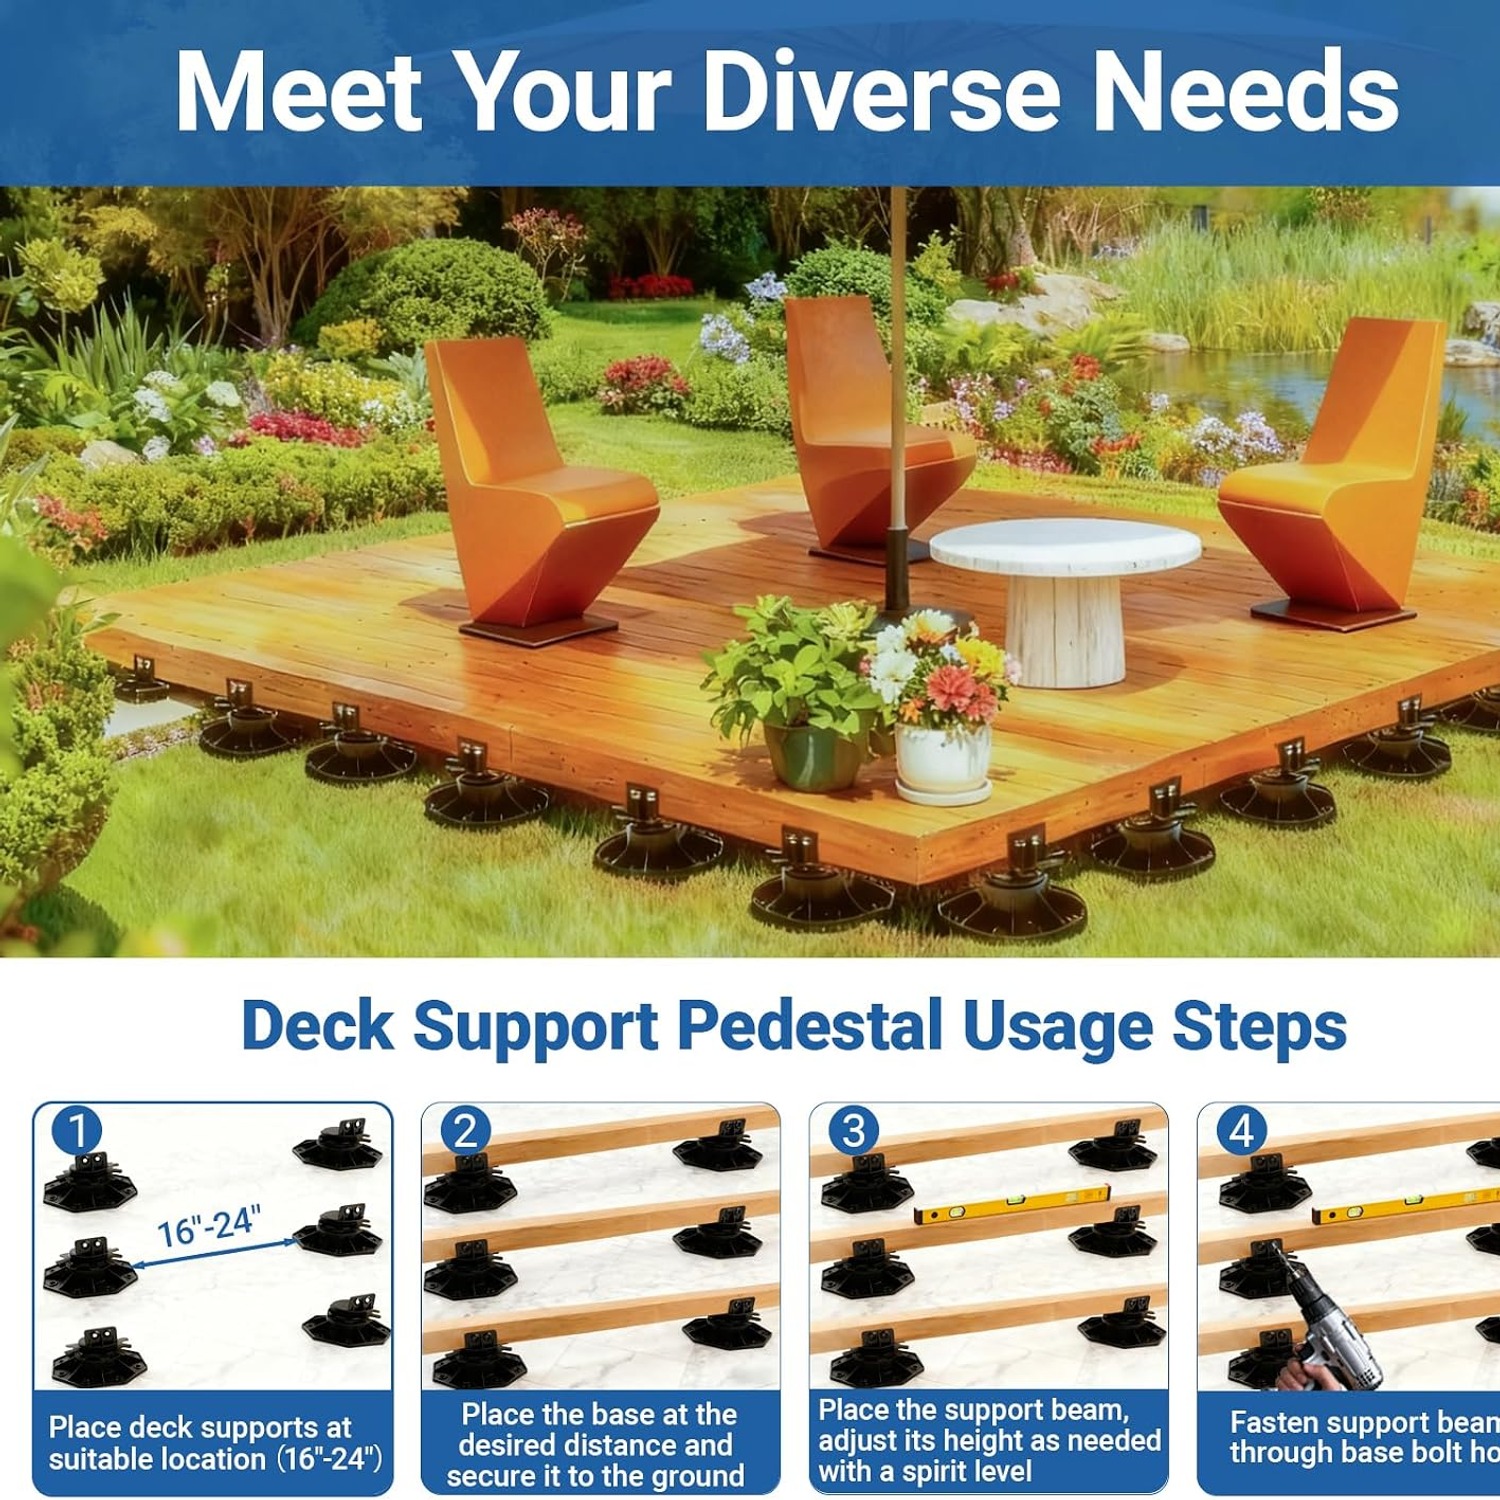
You set the pedestals out under your frame, wind them roughly to height, drop the joists on, then fine-tune. Once everything reads level, screws go through the holes in the top plate and up into the joist. That single step is what turns a stack of parts into a structure, because the deck and the supports now move as one piece rather than sliding past each other.
The 30-60mm range is deliberately shallow. These are made for low floating decks, patio top-ups, walkways, shed floors and raised mesh or greenhouse floors. If you want to stand a deck half a meter off the ground, you are looking at a different product entirely. If you want a deck that sits just clear of the dirt with airflow underneath, this range is right in the sweet spot.
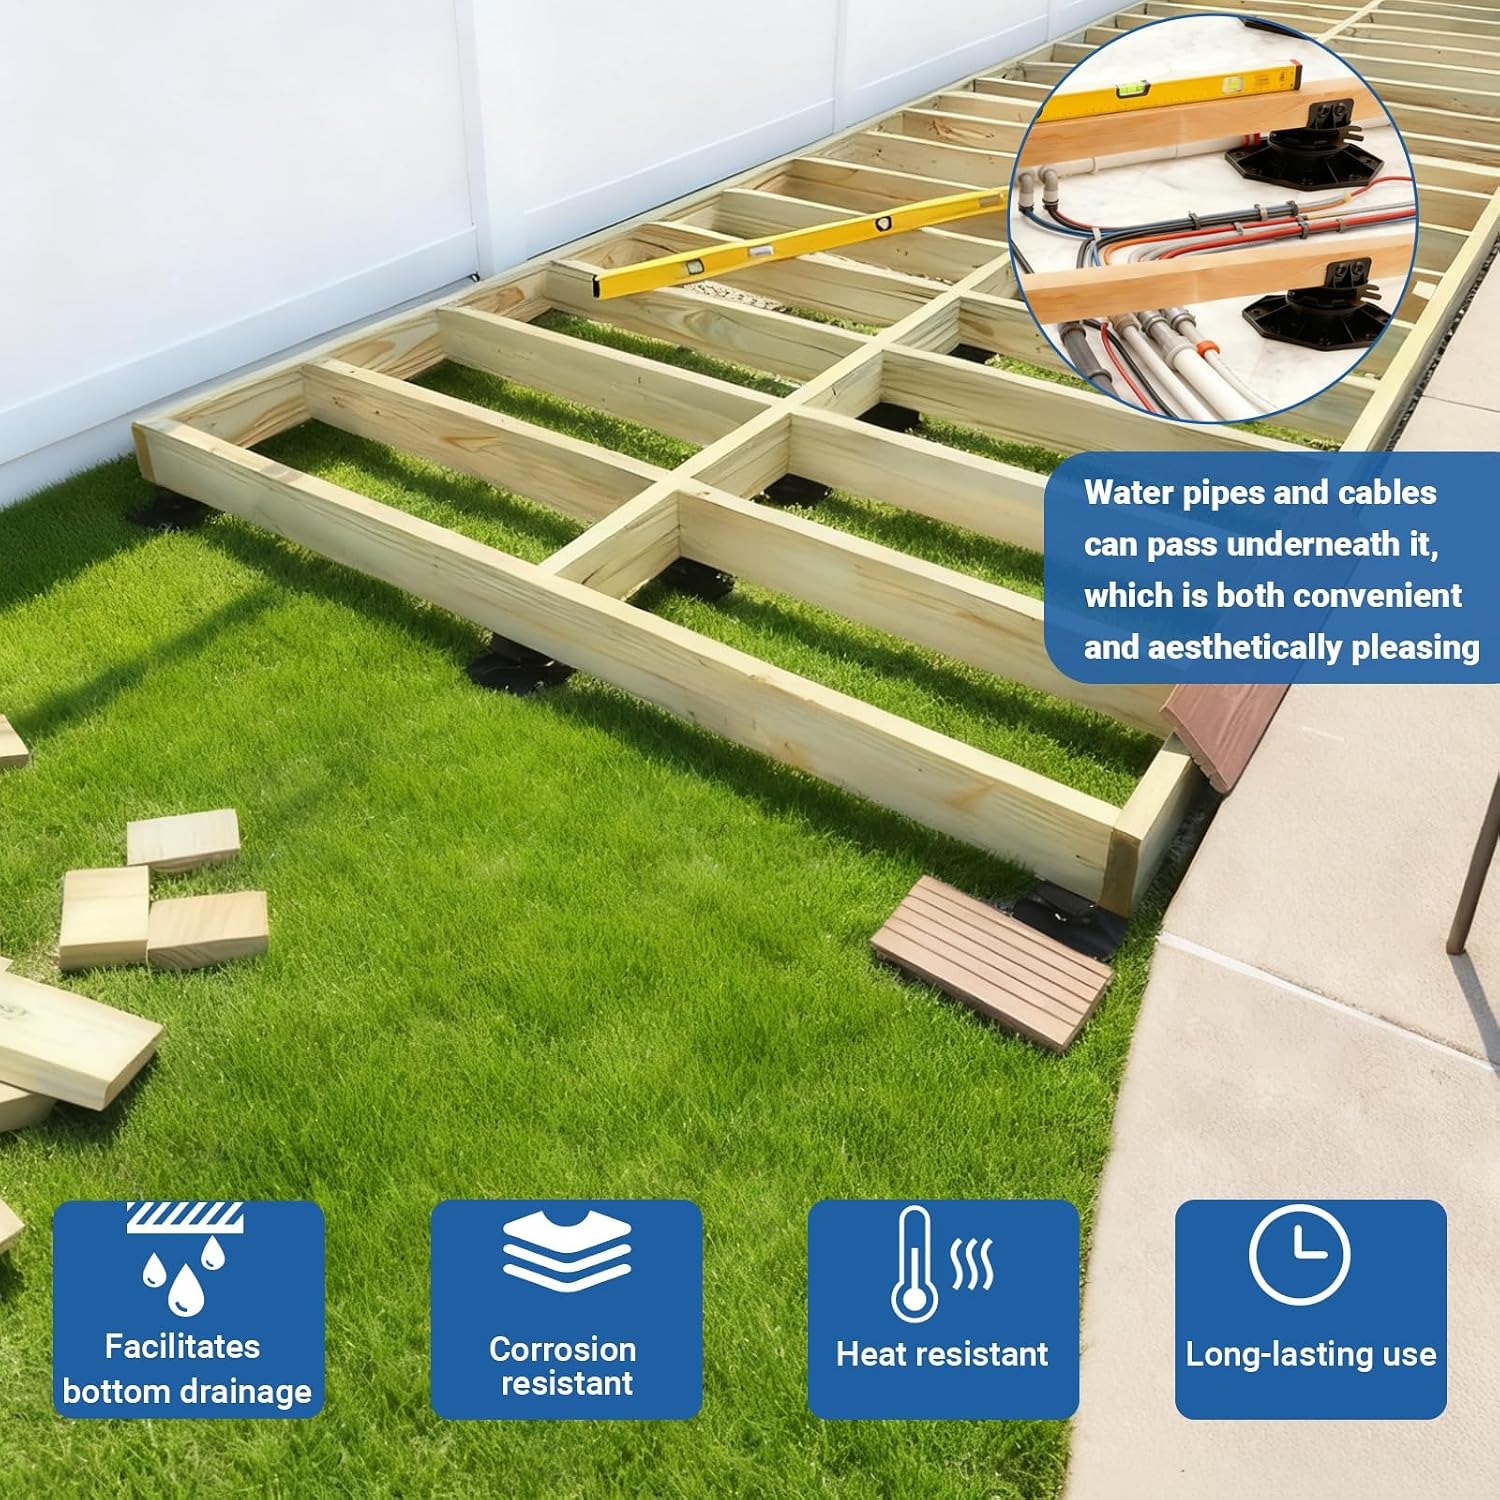
The material is high-strength PP. The maker says it resists corrosion and oxidation and holds its shape under long exposure to sun, rain and frost without deforming, ageing or cracking. Plastic has a real advantage in ground contact. It does not rot like timber, it does not rust like steel, and termites have no interest in it.
Who these suit
They suit the person building a small to mid-size low deck over soil, gravel or an old slab. They suit anyone putting down a shed floor and wanting it level without laying a new concrete pad. They suit walkway projects across uneven ground, and they suit people topping an ugly but sound existing patio with timber or composite boards.
They also suit anyone who has already built something and watched it settle. Because the thread stays live after installation, you can go back and re-level a sagging corner without pulling boards up. That is a feature you only truly appreciate the second summer.
They are less suited to high decks, decks that carry heavy fixed loads like spas, or anything that falls under building approval where an engineer has specified footings. The maker does not publish a kilogram load rating for these pedestals, and we are not going to invent one. If your project is structural, get local advice.
Working out how many you need
This is where most people under-order. The number of pedestals comes from your joist layout, not from the deck's area.
Start with your board thickness, because that sets how far your joists can span. Thin boards want closer joists. Then set your joist spacing, commonly 400mm to 600mm centers on residential low decks. Then decide how often you will support each joist along its length. Multiply those numbers out and you have your pedestal count.
A quick worked example. A deck three meters by three meters, with joists at 450mm centers, gives you roughly seven joists. Supporting each of those every 600mm along its three meter run means about six supports per joist. That is forty-two pedestals, or four packs of twelve. People who buy one pack for a three by three deck end up making a second order.
It is worth laying it out on paper, or chalking it on the slab, before you buy. The strongest deck support blocks in the world will not help if there are not enough of them.
Ground preparation still matters
A pedestal transfers load down into whatever is under it. If that is loose soil, the pedestal will eventually press into the soil and your lovely level deck will develop a dip.
The usual fix is simple. Sit each pedestal on a paver, a small compacted gravel pad or an existing concrete surface. That gives the rounded base a firm, broad bearing area. On a slab or old patio you can skip this entirely and place the pedestals straight down.
Do not sit them in a hollow where water collects. Standing water will not harm the plastic, but it will soften the soil underneath and move the whole thing. Shape the ground so water drains away, then set your supports.
Getting it level
Work from the highest point of your ground, not from one edge. If you start at a low corner you will run out of adjustment on the high side and have to start again.
Run a string line or a long straight edge across the frame. Wind the pedestals under that line until each joist sits true. Check across the deck as well as along it, then check the diagonals. On a small deck a two meter level will do the job. On anything bigger, a string line and a water level or laser is faster and more honest.
Once you are happy, screw the top plates to the joists. Use exterior-grade fixings. Stainless or hot-dip galvanised screws are worth the extra few dollars outdoors, because a rusting screw head is a nasty thing to find in a timber joist in three years.
Drainage, airflow and the long game
The real reason low decks fail early is water. Boards that sit against damp ground never dry out. The underside stays wet, the timber softens, and the whole thing goes spongy while the top surface still looks fine.
Lifting the frame even 30mm changes that. Air moves under the boards, water runs away rather than pooling, and the timber dries after rain instead of staying damp for days. That small gap is also handy for running a hose line, a drainage pipe or some conduit.
The one maintenance job that matters is clearing out leaf litter. A deck on pedestals with 40mm of compacted leaves underneath has no airflow at all, so you have spent money for nothing. Blow it out or hose it through once or twice a year.
Care and checking in
There is almost nothing to do with the pedestals themselves. Rinse grit out of the threads before you install so they wind smoothly. After that, leave them alone.
The habit worth building is a check after the first wet season. Ground moves most in its first year under a new load. Walk the deck, feel for any soft or bouncy spot, and wind the relevant pedestal up a turn or two if you find one. Five minutes then saves a rebuild later.
Avoid solvents and strong cleaners on the plastic. Soap and water is all it ever needs.
The short version
These are twelve adjustable support blocks that wind between 30mm and 60mm, made from a tough outdoor PP, with a rounded base for stability and a drilled top plate so you can screw them to your joists. They turn leveling a low deck from a digging job into a twisting job, and they stay adjustable long after the boards are down.
Buy enough of them, sit them on something firm, screw them to the frame properly, and clear the leaves out once a year. Do those four things and you will have a deck that stays flat and dry for a very long time.