
The complete guide
How To Choose Adjustable Deck Pedestals For A Low Deck
The problem with building low
Every low deck starts the same way. You stand on the slab or the paved area, you lay a straightedge across it, and you find out the ground is not flat. It never is. Slabs are poured with a fall so water runs off. Paved areas settle. Compacted gravel moves a few millimeters here and there over a wet season. None of that is a fault, it is just how outdoor surfaces behave.
Then you have to build a flat timber floor on top of it.
The old answer is packers. Offcuts of treated pine, scraps of hardwood, a bit of plastic from the shed, whatever is lying around. They work on day one. The trouble shows up later. Timber packers absorb water, compress and rot. Thin ones split under load. And because each one is a different thickness, you end up with a floor that is level in some spots and a whisker out in others. That whisker is what you feel when a board flexes under your heel and the deck lets out a creak.
Adjustable deck pedestals exist to get rid of the packer pile. Instead of hunting for a 23mm offcut, you set the support to 23mm and move on.
What these ones do
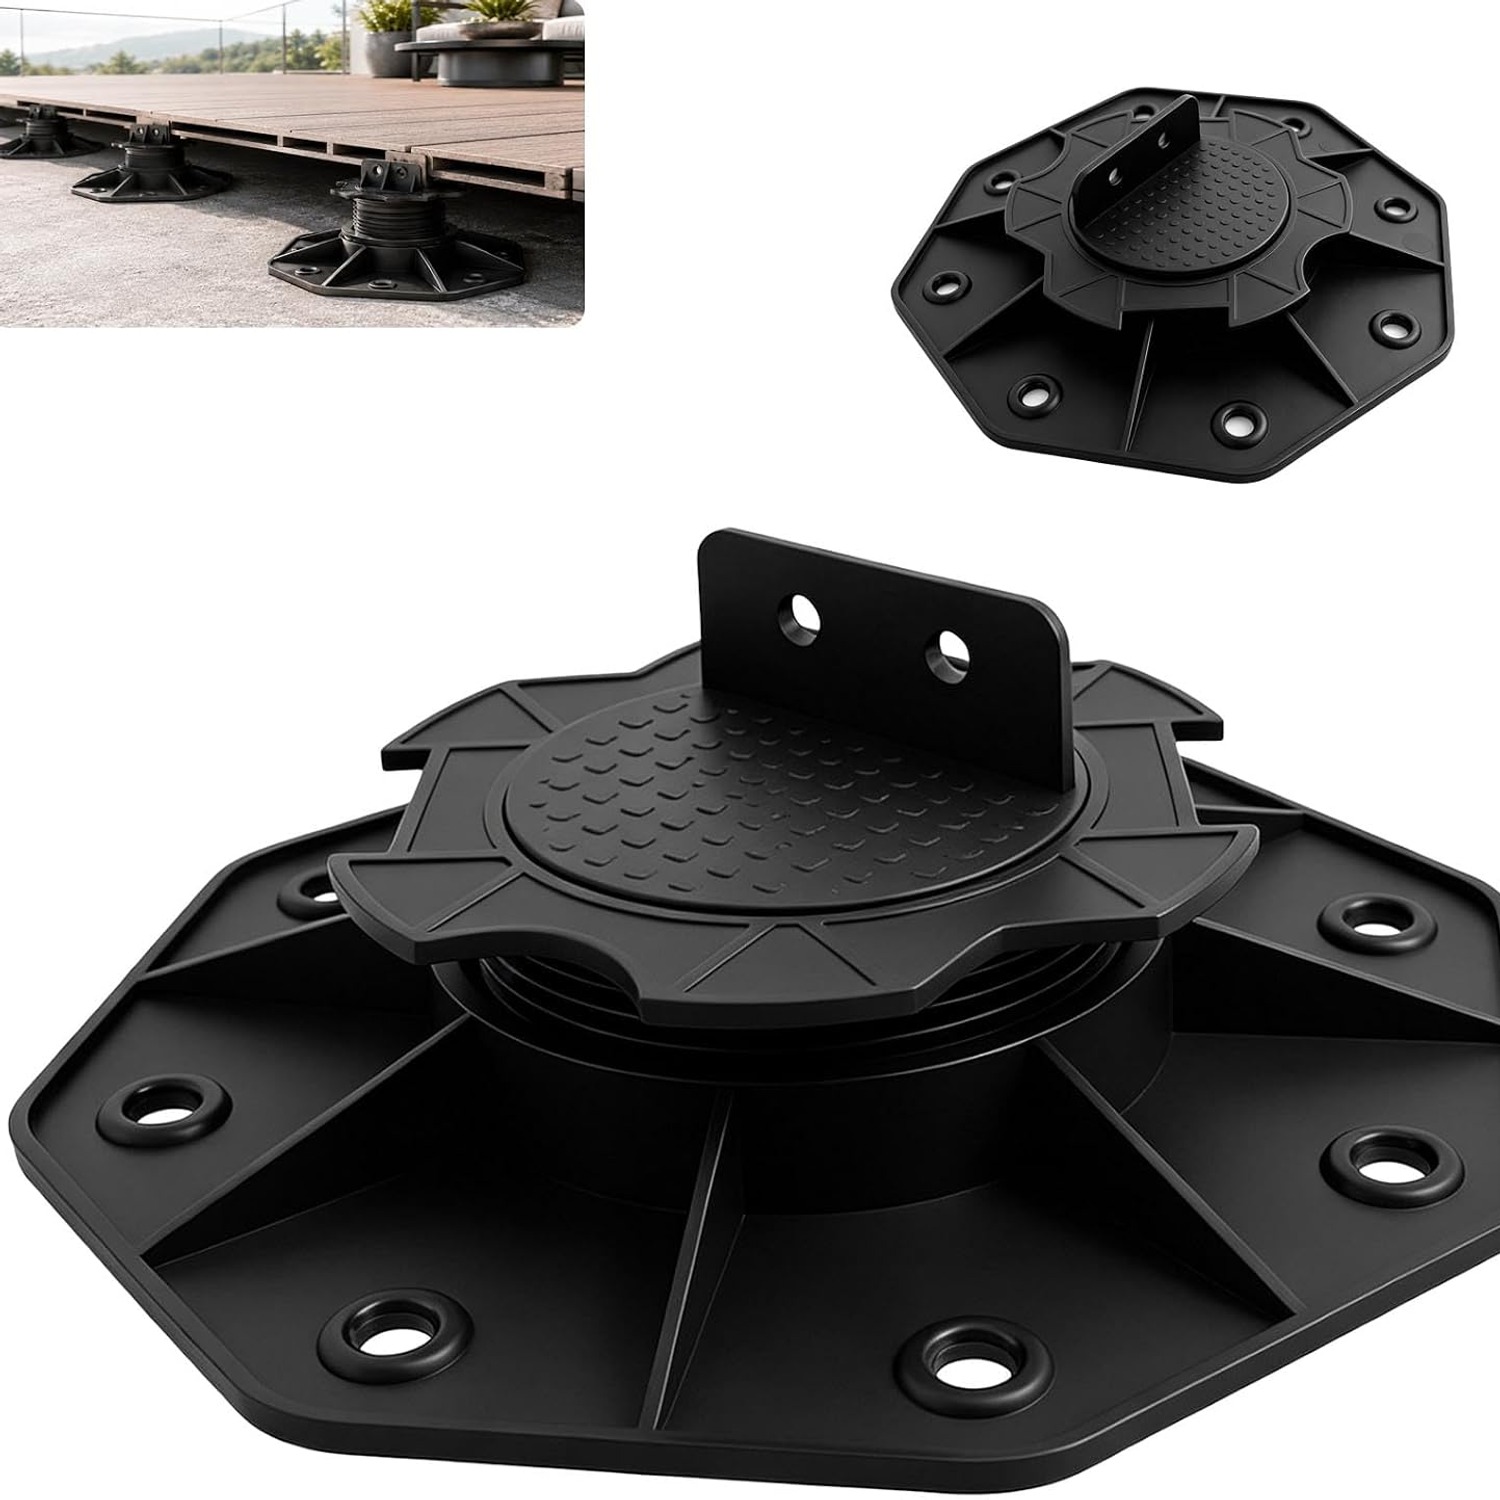
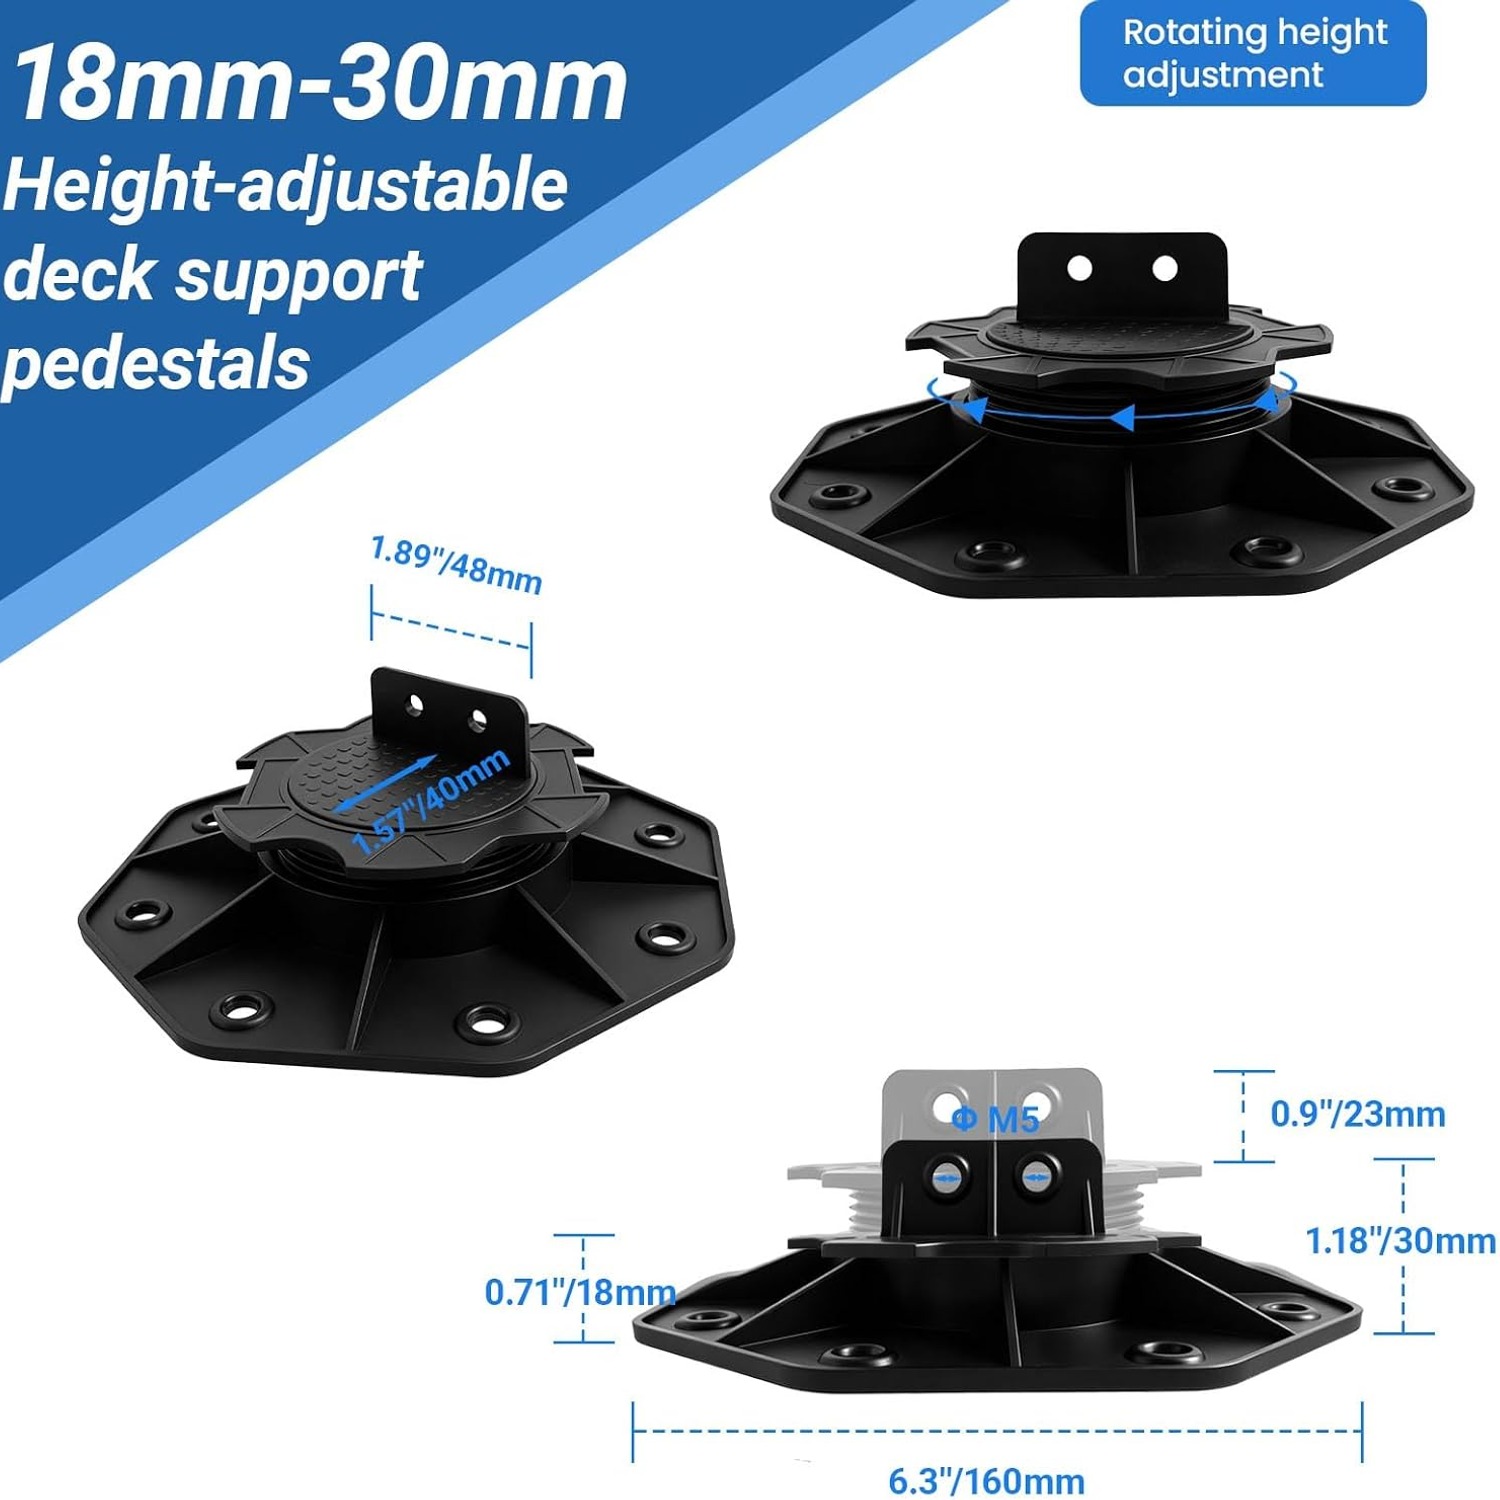
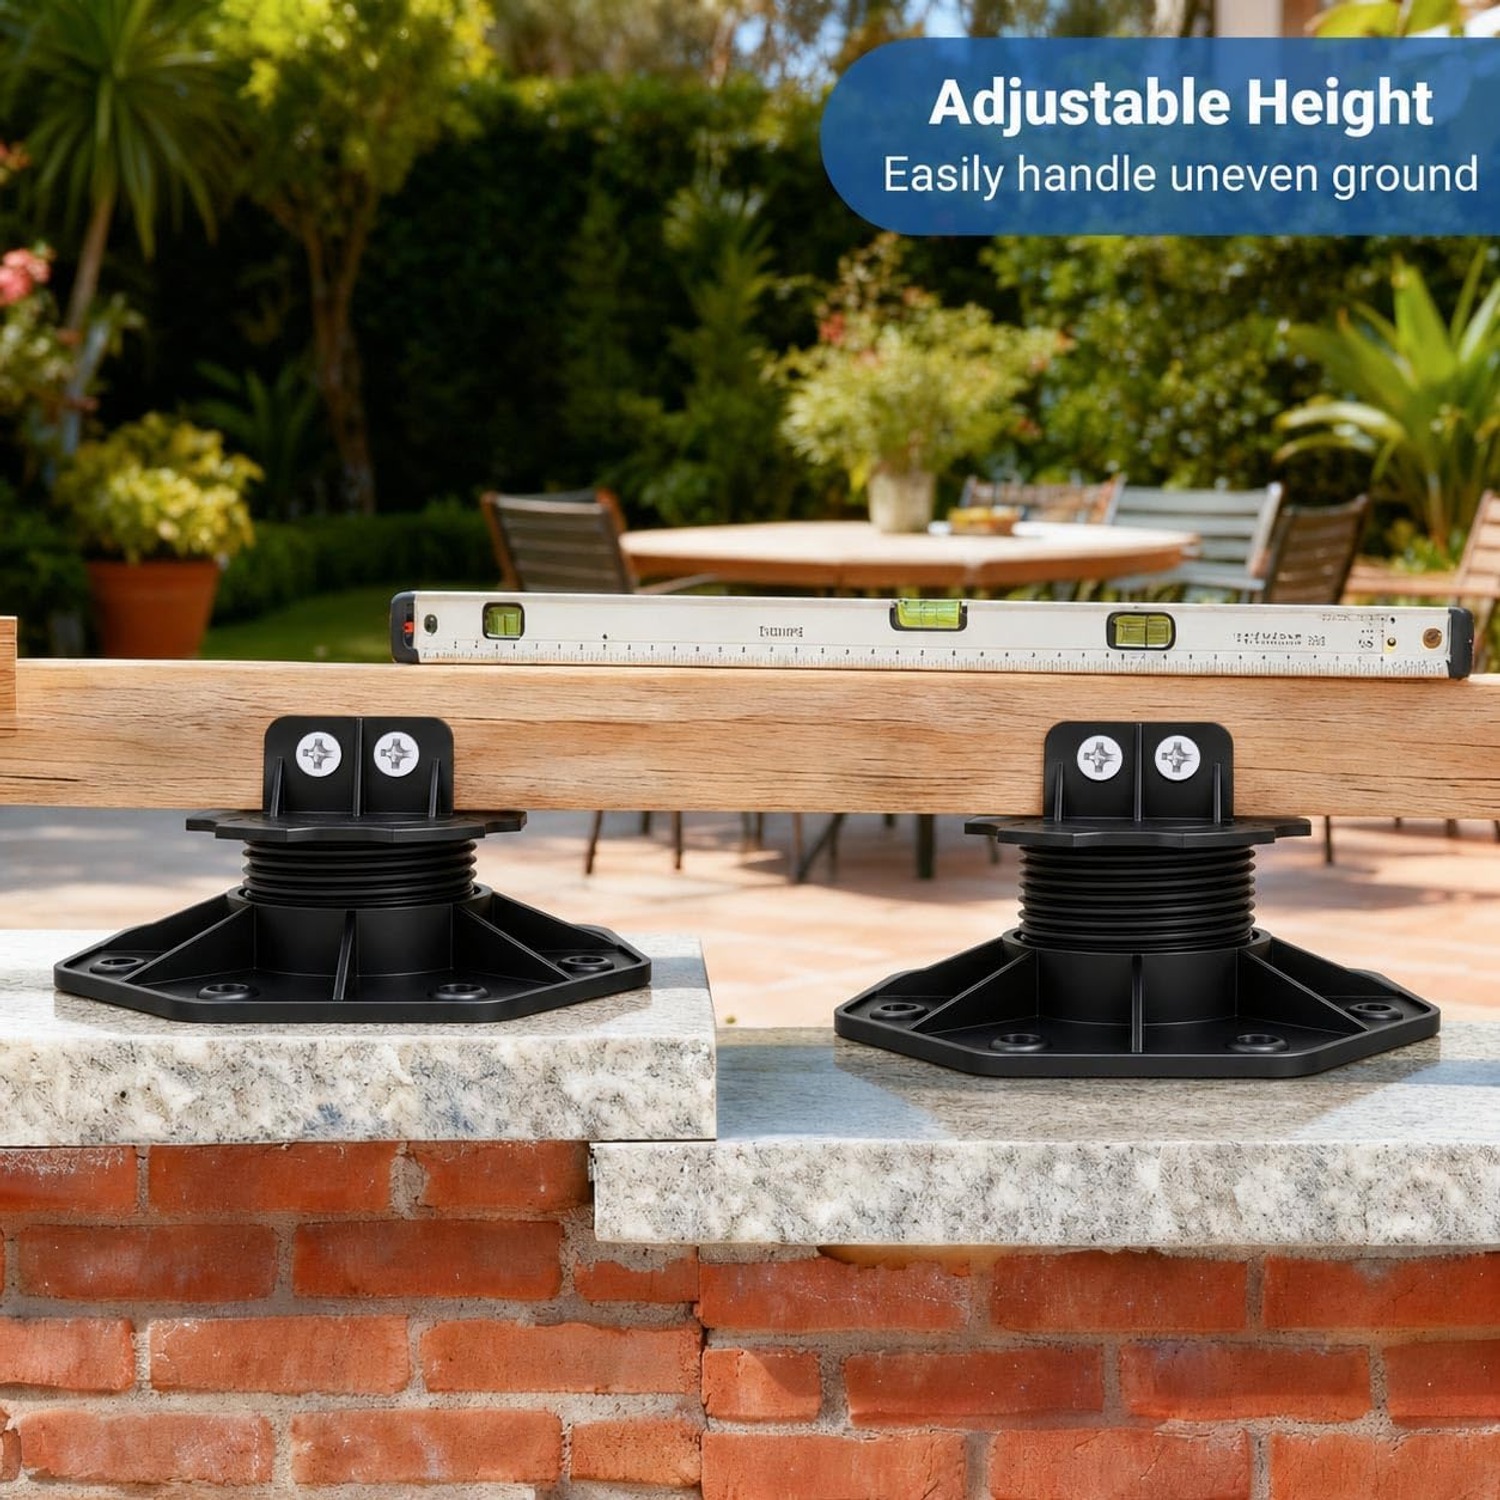
This pack holds ten deck support blocks, each one adjustable between 18mm and 30mm. That is a narrow, deliberate range. It is aimed squarely at decks sitting close to an existing hard surface, where you need to take up the fall on a slab, bridge a settled paver or simply lift the frame off the ground so water can get away.
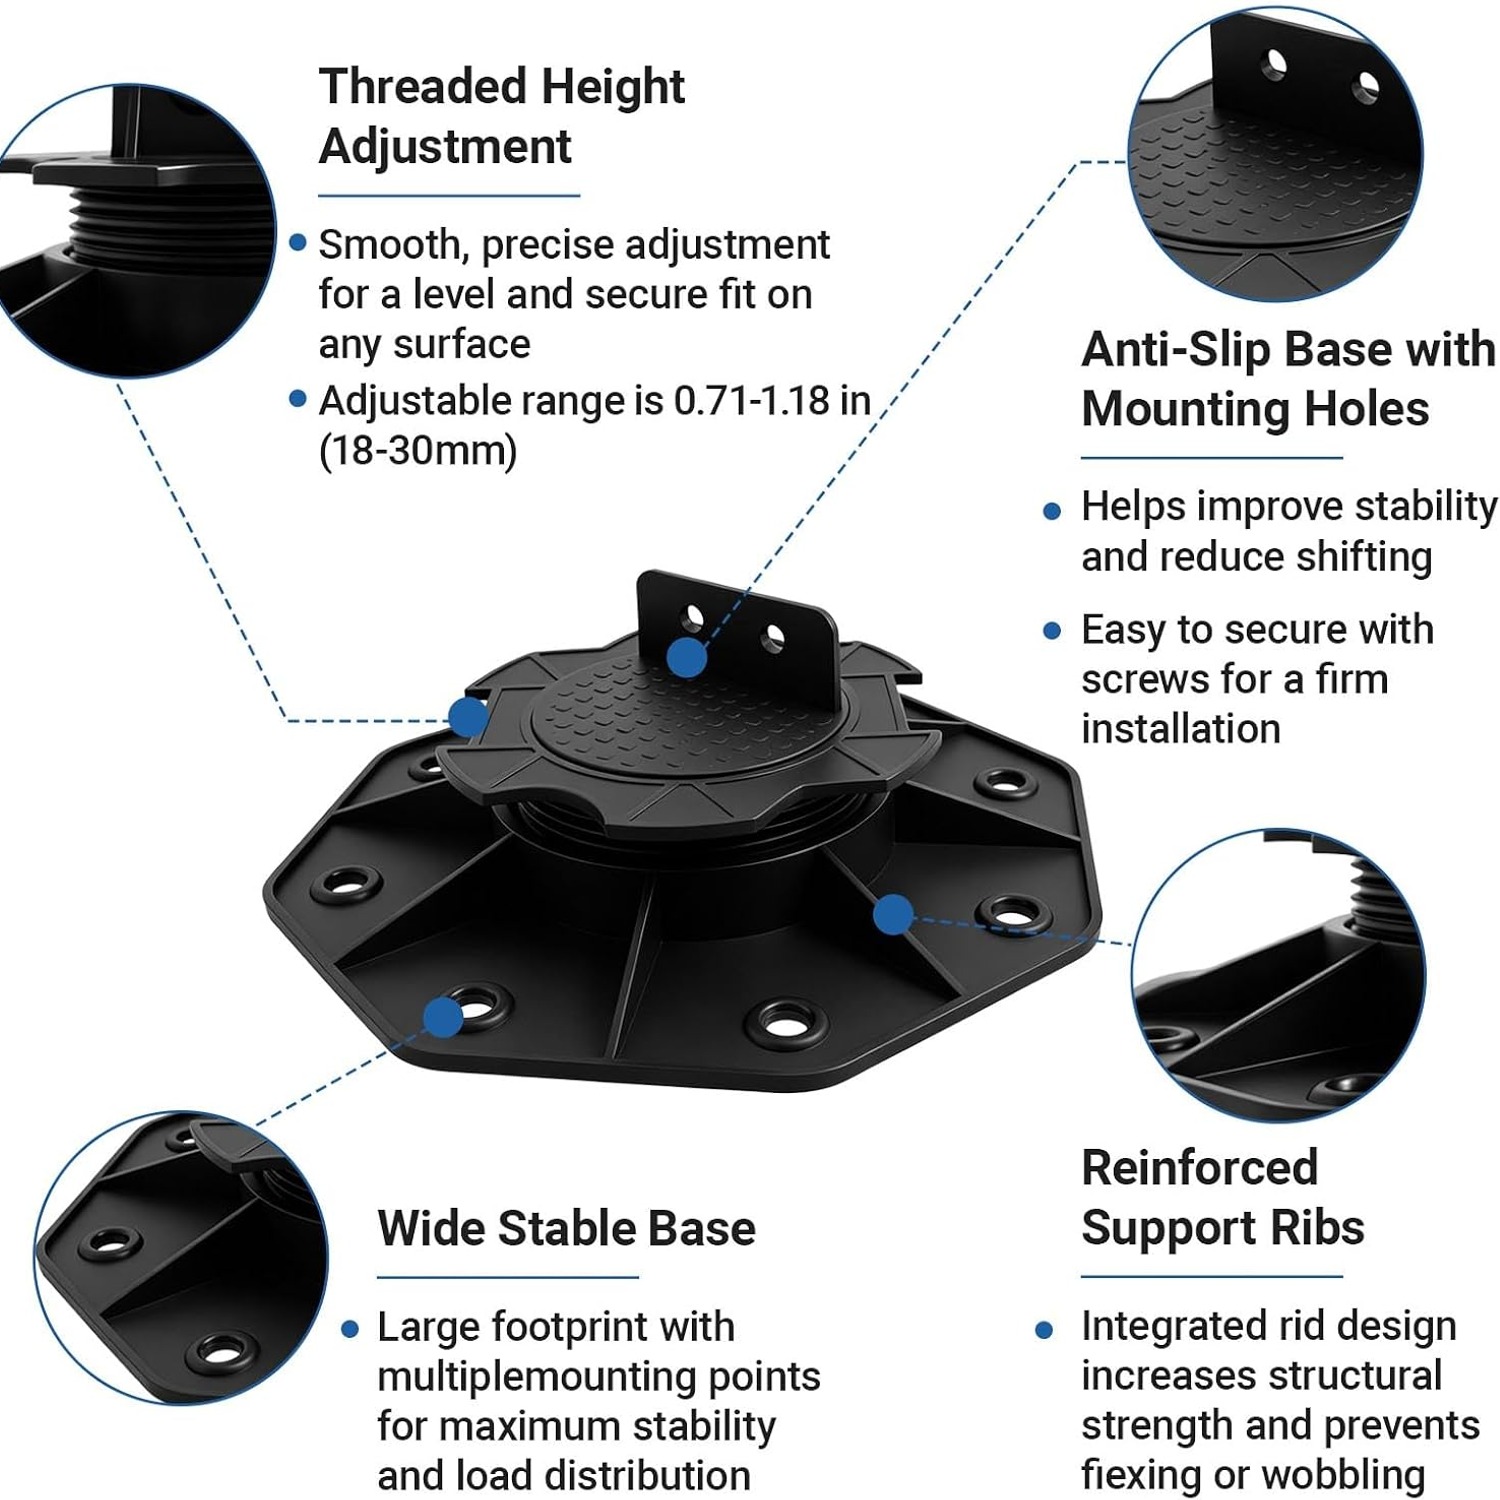
The body is molded from high-strength PP. The maker chose it for corrosion and oxidation resistance, and states it does not easily deform, age or crack after long exposure to sun, rain and frost. For anyone building in a hot, wet climate, that matters more than it sounds. A support that spends ten summers baking and ten winters soaking has to hold its shape or the whole floor shifts with it.
Underneath, the base is rounded. That shape helps push the load down into the surface below instead of concentrating it on a corner, and it is part of why the maker describes the structure as resistant to breakage and bending. In plain terms, it is what keeps the deck from feeling springy or rocking under your weight.
The top plate has small holes in it. Screws go through those holes and into the joist, which locks the support to the frame. That is the whole fixing method. No concrete, no curing, no coming back tomorrow.
Who they suit
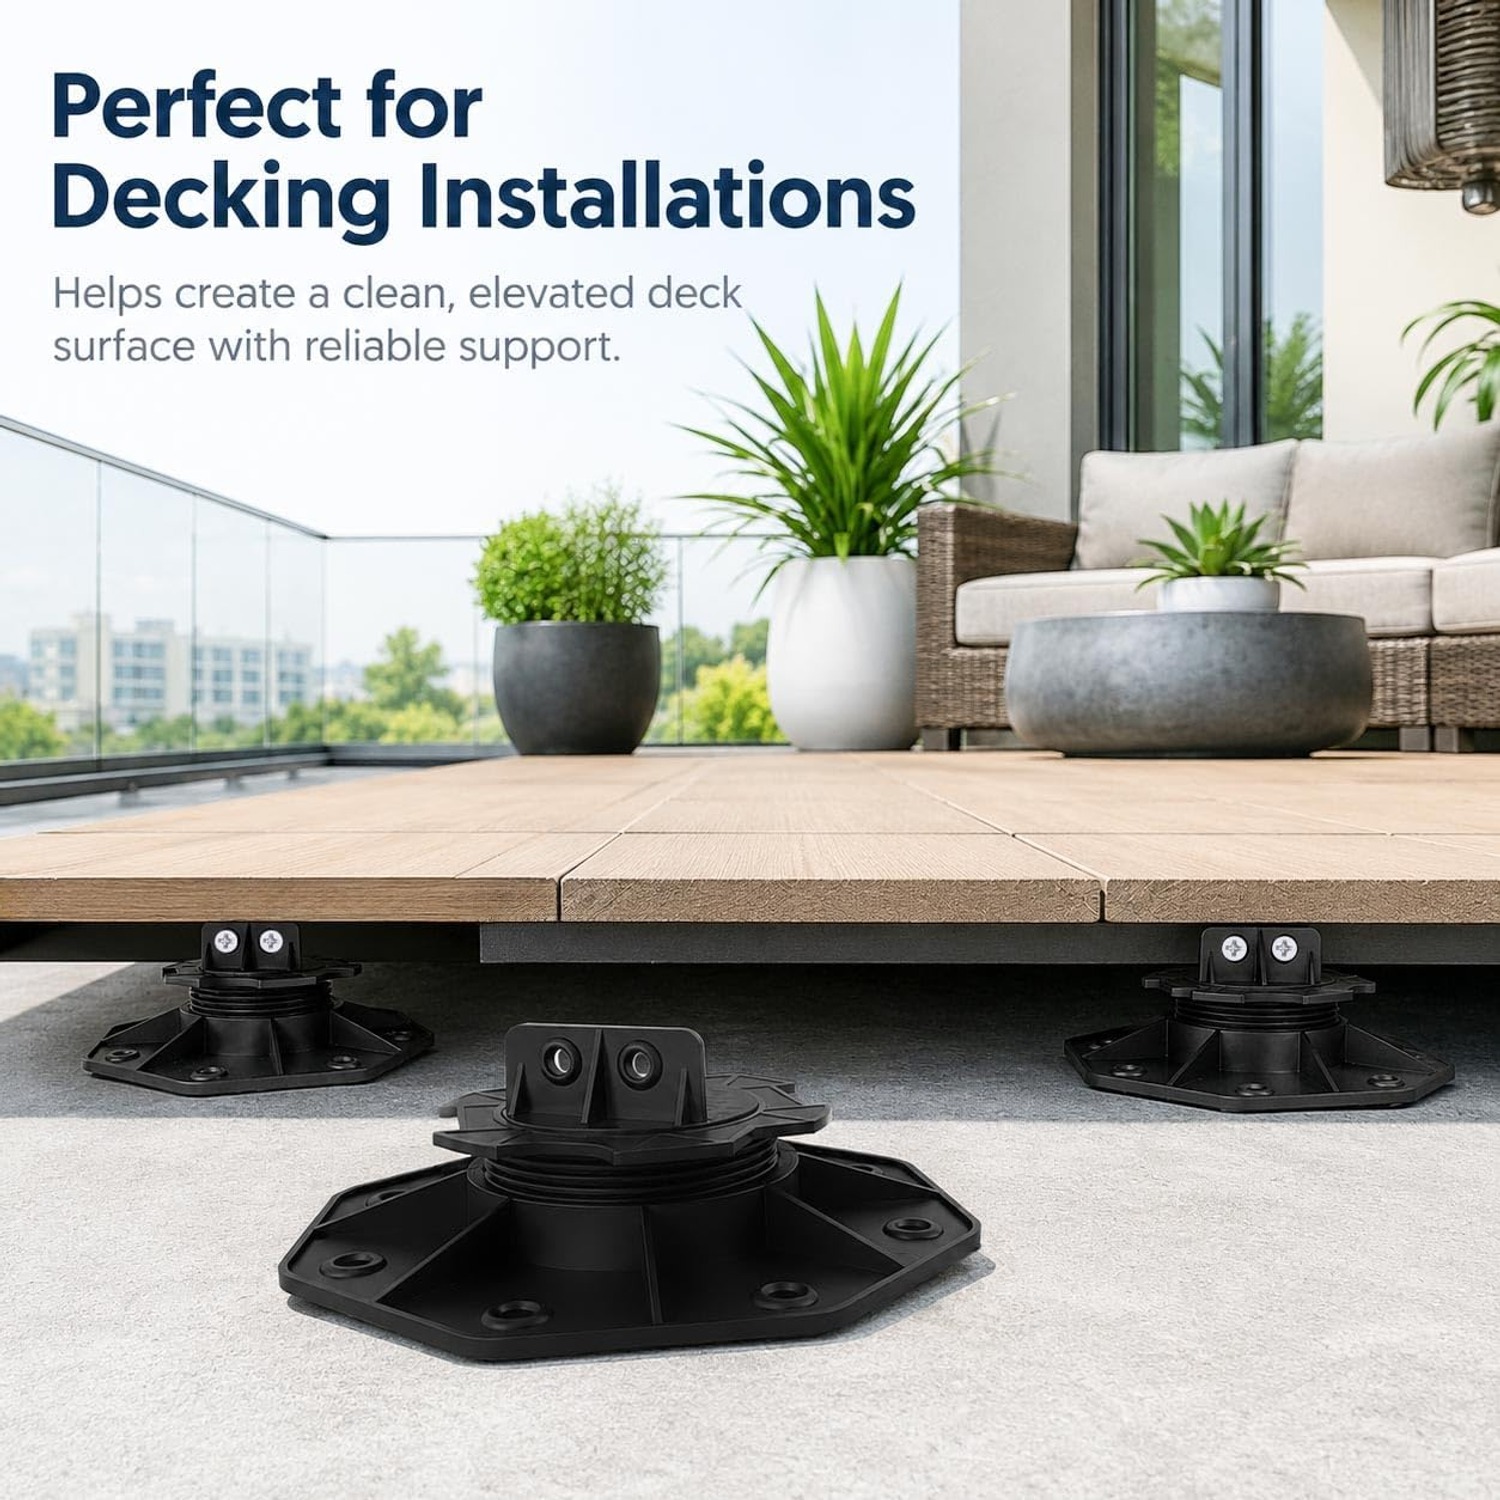
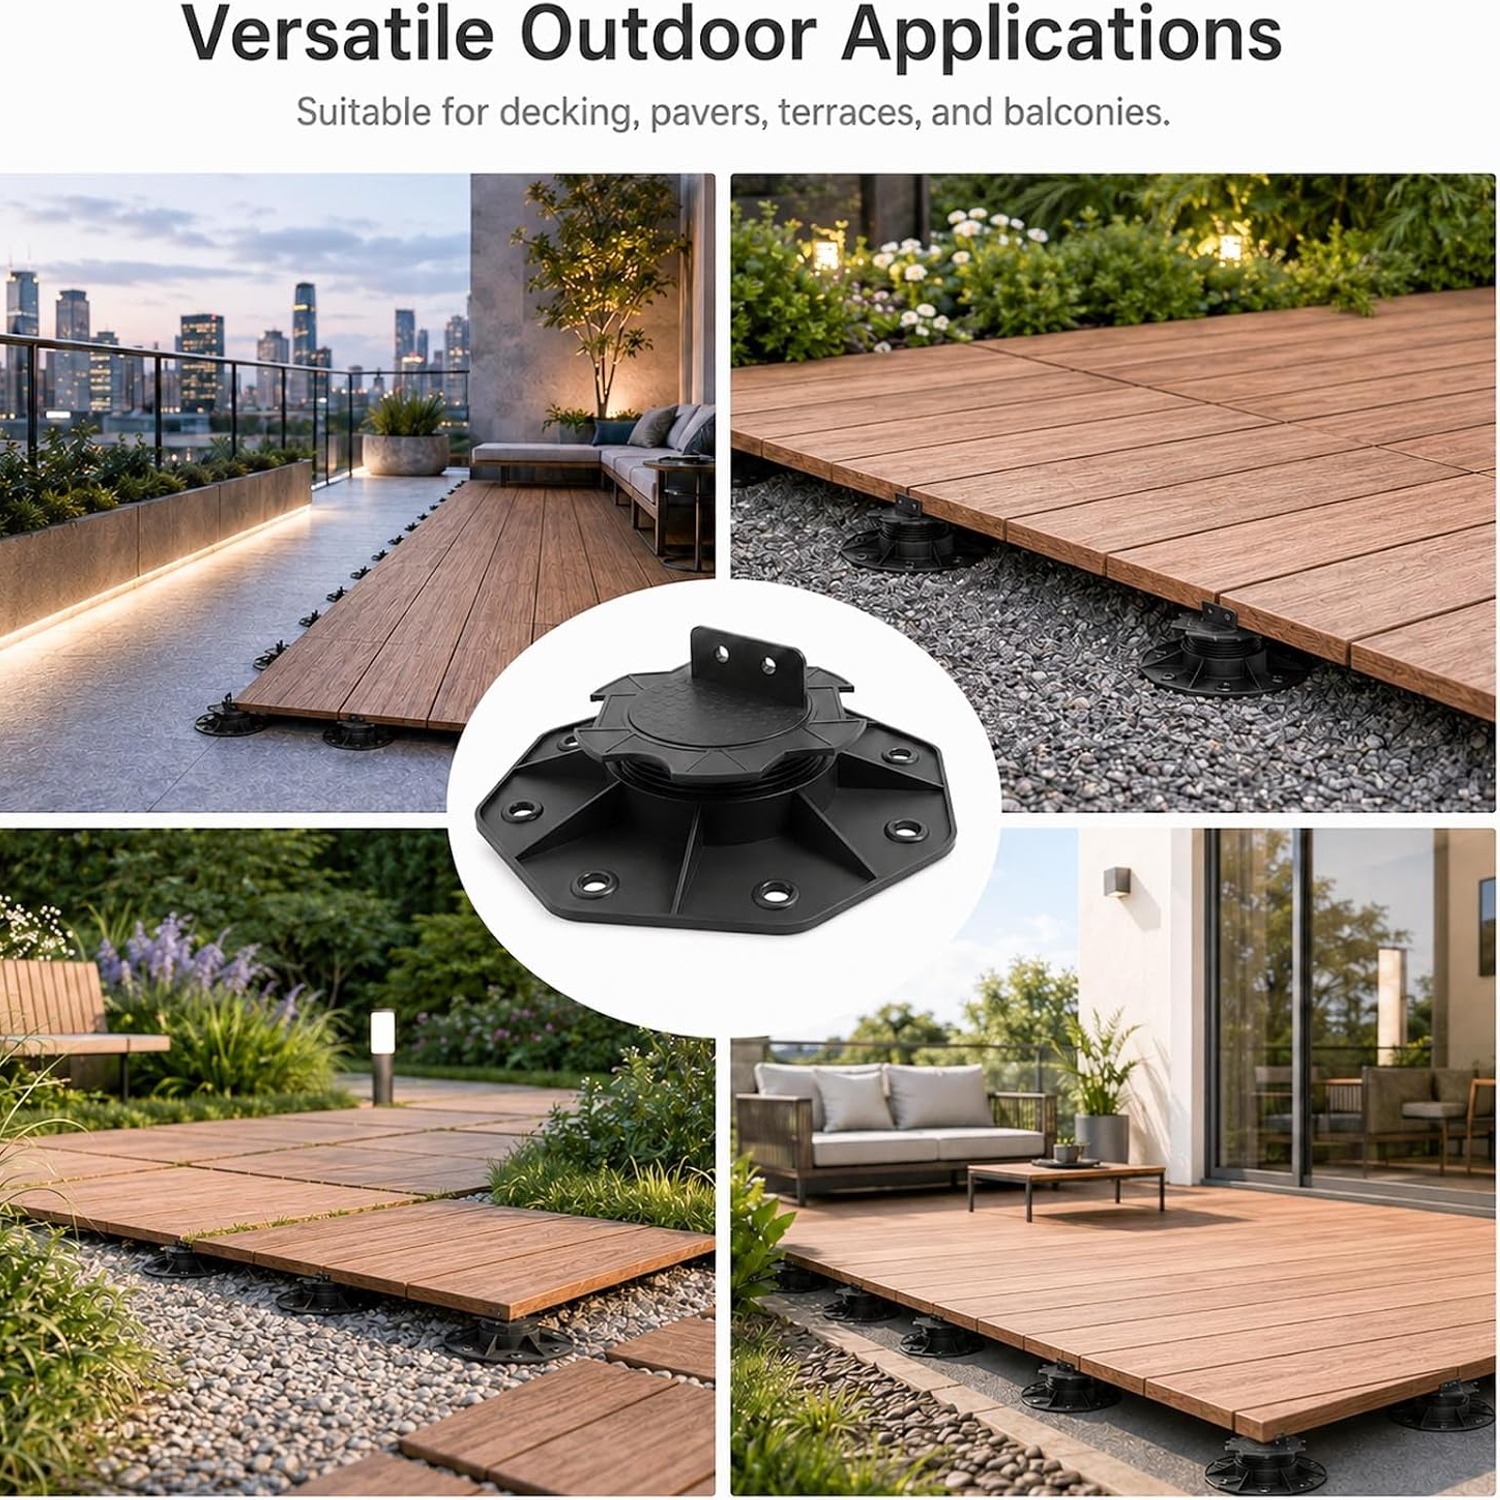
They suit anyone building low and building on something firm. Decks over a concrete slab. A landing outside a back door. A walkway through a garden. The floor of a garden shed sitting on a pad. A multi-level deck where one tier only needs to rise slightly above the next. Greenhouse flooring, where keeping timber out of constant damp is half the battle.
The listed compatible materials cover a wide spread: outdoor treated timber, WPC flooring joists, various types of stone, engineered mesh flooring, greenhouse flooring and pipework. If you are hunting for adjustable decking feet for a composite frame, the WPC compatibility is worth noting, because composite joists are often fussier about support than timber.
They do not suit a deck that needs to sit well above the ground. Thirty millimeters is the ceiling here. If you are building over sloping garden ground, or you want a usable space underneath, you need a taller pedestal system or a proper pier and post structure.
They also do not suit soft ground on their own. Set a pedestal straight onto loose soil and it will find its own level over the first wet month, usually a few millimeters lower than where you left it. Put a paver or a compacted pad under each one and the problem goes away.
Working out how many you need
This is where most people get caught out. Ten sounds like a lot until you draw the layout.
Support spacing depends on joist size, board thickness, board direction and the load you expect the deck to carry. Follow the span tables that apply where you live, and check local building rules before you commit. As a rough feel, a lot of low decks place a support every 400mm to 600mm along each joist, and closer where boards cantilever at an edge or where a step lands.
Do the maths on paper first. Draw the deck to scale, mark the joists, then mark a dot at every support point. Count the dots. That number, rounded up, is how many pedestals you need. A small landing might take eight. A three by four meter deck will take several packs.
It is cheaper to order one pack too many than to stop work halfway and wait for a delivery.
Getting the install right
The fitting is simple, but the setting out is what decides whether the deck feels solid.
Start with a reference. Run a tight string line, or lay a long straightedge with a level on it, across the full area at your finished frame height. Everything else gets measured off that one line, not off the ground. Measuring each spot from the slab is the fastest way to end up with a wavy floor, because the slab is the thing you are correcting for.
Set each pedestal to touch the line, then fix the screws through the top plate into the joist. Work in a sequence rather than jumping around, so you always have a fixed reference beside you. Check with the level often.
One genuinely useful feature here is that the height can still be changed after installation. If a corner settles over the first wet season, you can get underneath, back the screws off, re-dial that support and bring the floor back to flat. On a deck sitting on concrete piers, that kind of correction means pulling boards.
Looking after them
There is very little to do. The maker states no maintenance is required during use and the material will not rust or crack.
In practice, two small habits help. First, keep the space under the deck clear. Leaves, soil and grit pack in around the bases over time and block the drainage path you built the deck to have in the first place. A hose or a leaf blower once or twice a year sorts it. Second, check the fixing screws after the first season. Timber moves as it dries out, and a screw that was tight in autumn can be a little loose by the following spring.
No oil, no paint, no sealer. Plastic supports in shade are about the lowest-maintenance part of any deck.
How they compare
Against concrete piers, the trade is adjustability and weight against raw mass. Piers are fixed once set and heavy to move, but they carry very large loads. Pedestals adjust, weigh almost nothing and fit in a shopping bag. For low work on an existing hard surface, most people find the pedestal faster by a wide margin.
Against timber packers, there is not much of a contest outdoors. Packers rot, compress and feed termites. These do none of those things.
Against taller pedestal systems, it comes down to height. If your range is 18mm to 30mm, this pack is cheaper and simpler. If you need 80mm, buy the taller one.
The short version
If you are building low on a slab, a paved area or a firm compacted pad, and you need to take up a small amount of fall to get a flat floor, this is the right kind of hardware. Ten supports, each dialling from 18mm to 30mm, screwed through the top plate into your joists. PP body chosen for weather resistance, rounded base for stability, adjustable again later if the ground moves.
Draw your layout, count your support points, order enough, and set everything off one string line. Do that and the deck will feel solid the day you finish it and still feel solid five years on.